How to Check Crop Marks and Registration Lines in a PDF
Crop marks, or trim marks, are the short lines in the corners of a print-ready PDF that tell the printer where to cut. A wrong mark means a wrong cut, so it is worth checking.
What good marks look like
- They sit outside the bleed, so they never print on the finished piece.
- Each corner has one horizontal and one vertical mark.
- The distance between opposite marks equals the trim size.
Measure them
- Open the PDF in PdfRuler and set the unit to mm.
- Press A: Auto-measure also measures every straight stroked line, which includes crop and fold marks, and labels their length (commonly 5 to 10 mm).
- Click the inner end of the top-left horizontal mark and the inner end of the top-right one. Subtract their X values (or read the line length): that is the trim width.
Check the offset
The mark should start beyond the bleed, usually 3 mm from the trim and 3 mm long beyond that, so the marks begin at 6 mm or more from the trim. Place a point on the trim corner and another at the start of the mark; the label shows the offset.
Use guides to compare
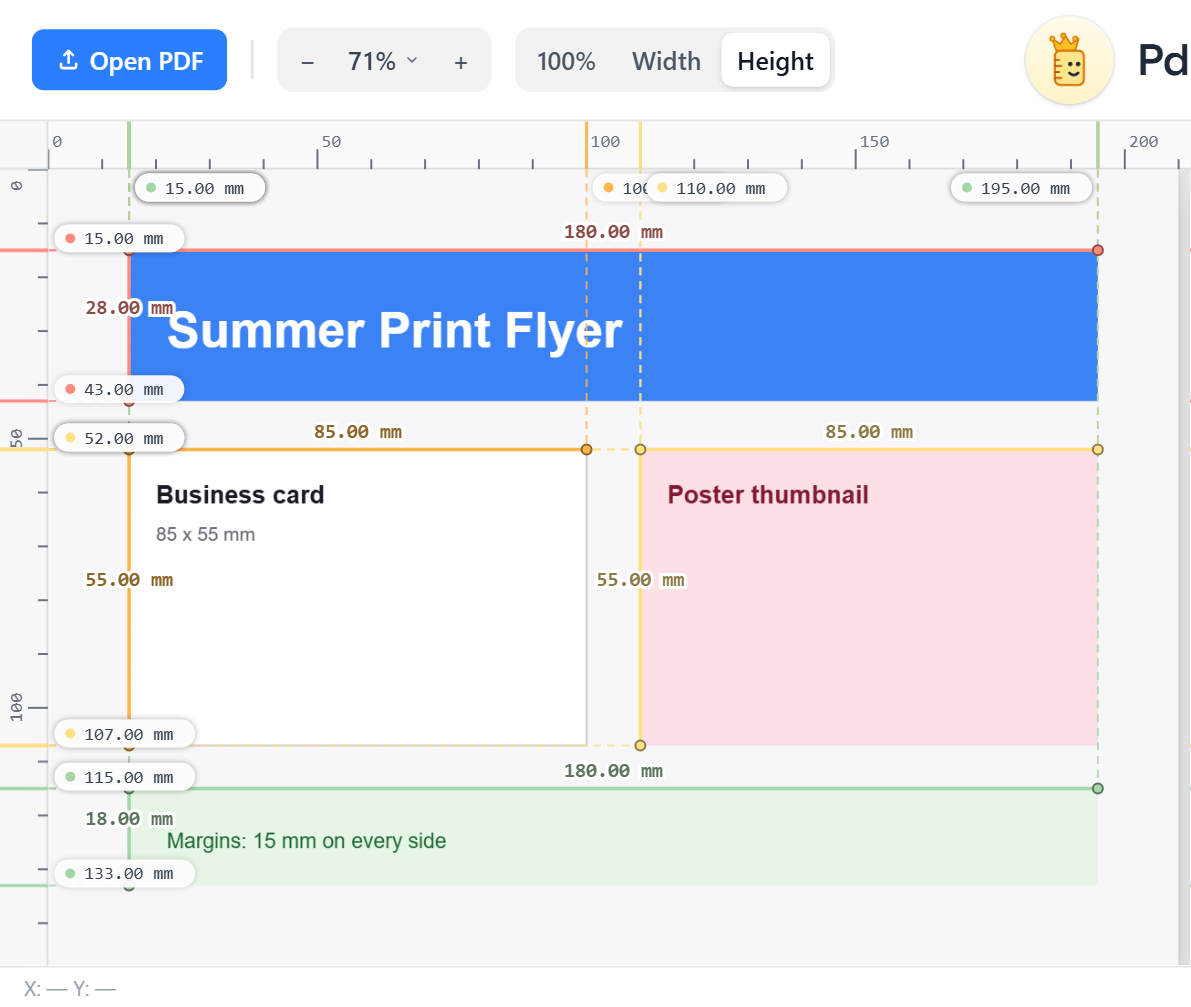
Drag a vertical guide to the inner edge of the left mark and another to the inner edge of the right one. The two guide readouts, subtracted, give the trim width. Read ruler guides to see how.
Background on the extra area around the trim is in what bleed is.
Frequently asked questions
What are crop marks?
Short corner lines outside the artwork that mark where the paper will be cut to the final trim size.
How do I measure crop marks in a PDF?
Open the PDF in PdfRuler and press Auto-measure; straight lines are labelled with their length. You can also click their ends to measure the offset.
Should crop marks touch the artwork?
No. They should start outside the bleed area so they do not appear on the finished piece.
